Exiting the pits for the first session of the day in a freshly prepared track car is one of the most anticipated and exciting moments for any track driver.
Often though, fresh preparation means new components and first thing in the morning means damp or drying circuit.
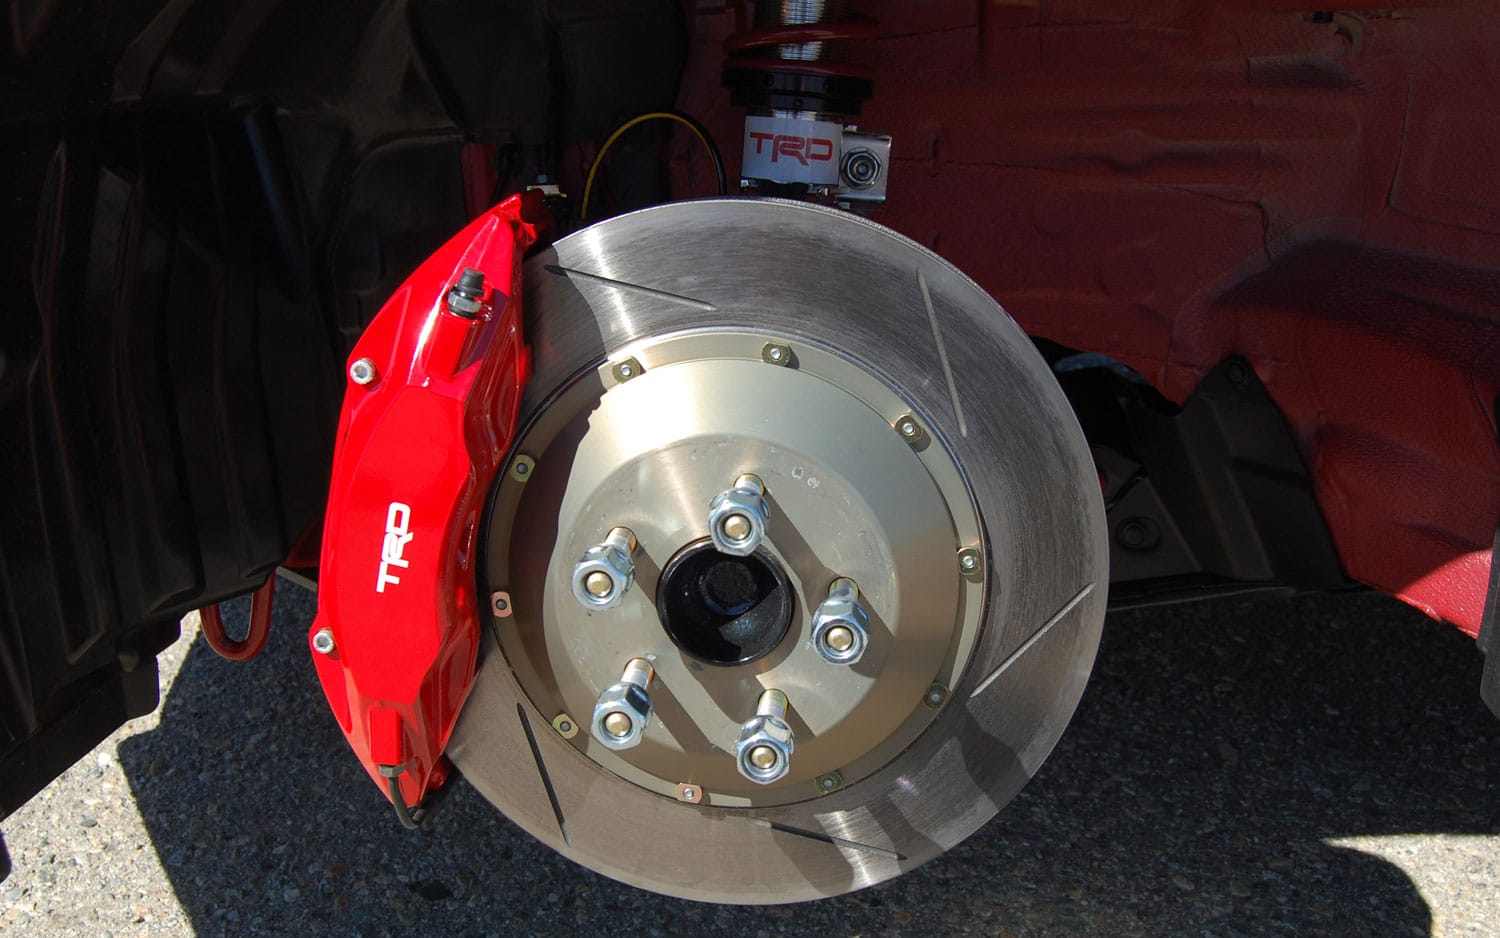
One of the biggest problems you might face in this scenario is brand new tyres with brand new brakes.
Executed incorrectly the procedure can be snatching, unpredictable and potentially catastrophic if you’re inexperienced, but with a bit of confidence and care it’s easy to get the car up to temperature, bedded in and ready for a proper session on the pace.
This article looks at the correct procedure to bed in your brakes.
Exiting the Pits
If you’re exiting the pits for the first time with brand new brakes, make sure you give yourself (and other cars) plenty of space. Look in your mirrors carefully as you’re running along the exit lane and if you can, allow other cars past you before you exit.
That’s not always possible but as much as you can, stay off the racing line and let other cars past you if it’s safe to do so, making yourself plenty of room.
Other drivers may not understand your behaviour so it’s best to avoid and let them by.
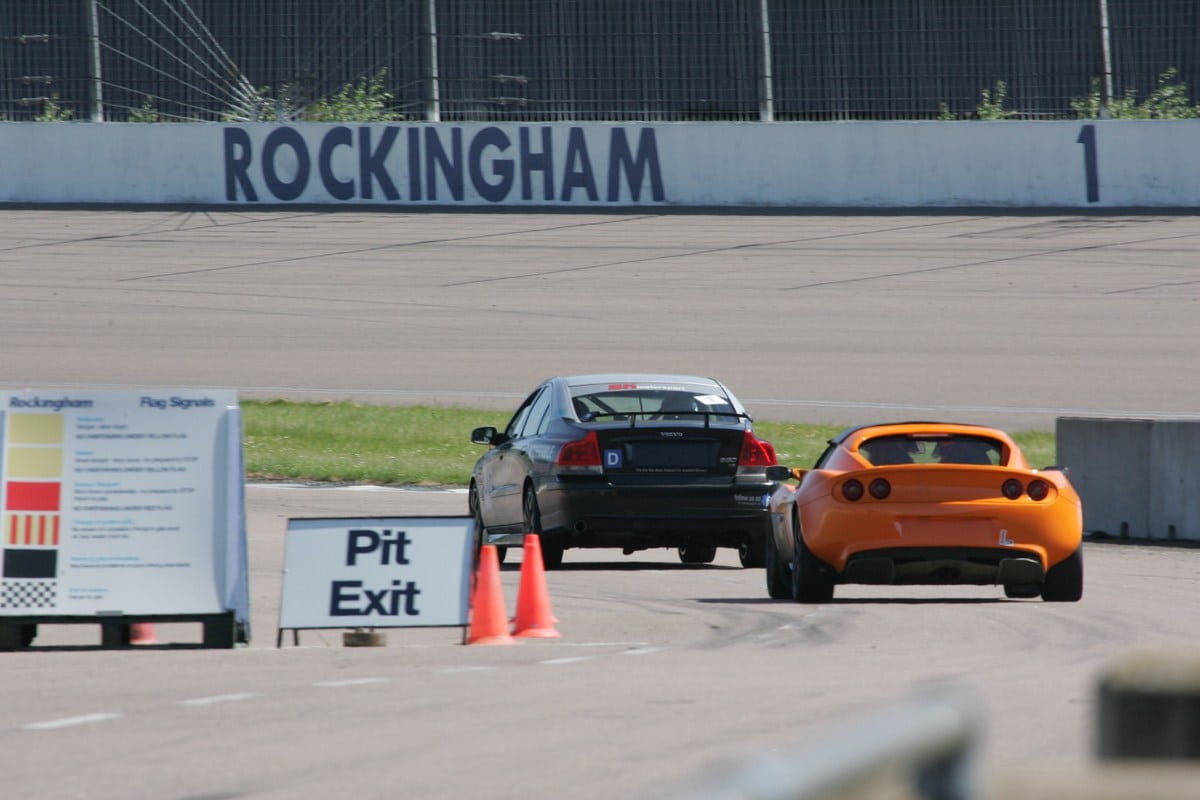
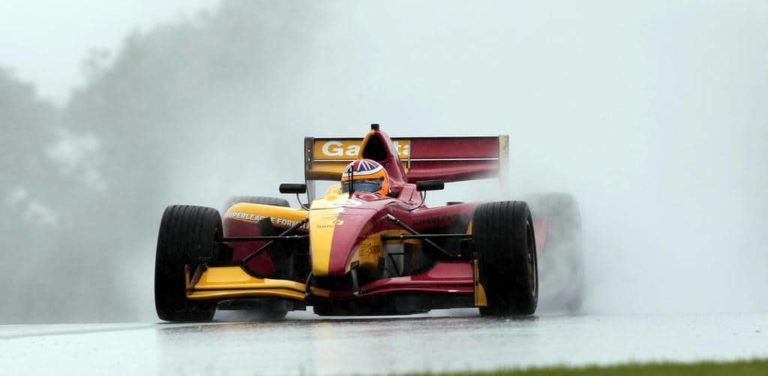
Rockingham’s pit lane exit should be taken with some caution as it’s a long curve. With new brakes and cold tyres, a wet circuit like this could really catch you by surprise!
As you’re on cold tyres and you have new brakes, you need to adjust your inputs to be sympathetic to a car that probably has limited grip. Watch this Driver’s University video on tyre warming which really highlights the importance of your inputs in that early phase.
First brake use – build some temperature
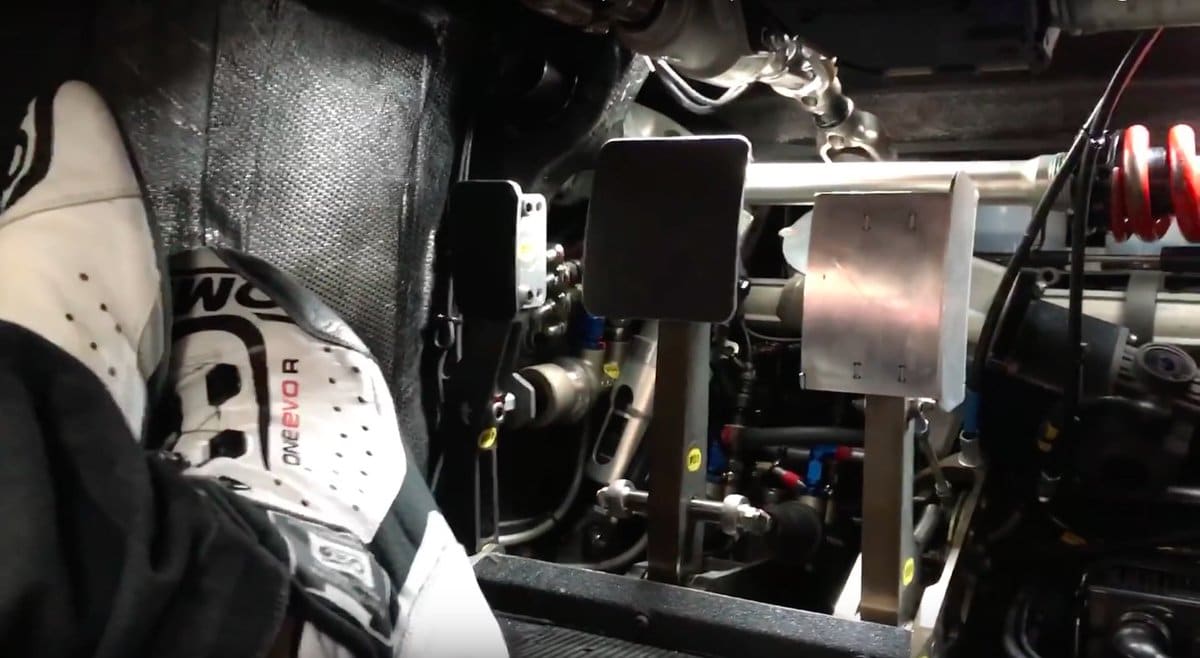
Test your brakes gently but well before a first corner! Drivers can neglect to do this only to find they have a long pedal with almost no braking power much too late. Check that mechanically, the pedal is responsive and your inputs are getting through.
Gain some initial speed. 40-60mph depending on the track car should suffice.
Gently apply your brakes just to build some temperature. Use light inputs initially, getting onto the pedal smoothly and only progressively increasing your maximum pressure after a few cycles.
Try to repeat this process 4 to 10 times, or until you can feel the brakes becoming more effective.
Remember, keep an awareness of any traffic coming up behind you! I use a straight to get the majority of this work done whenever I can.
This series of initial, gentle inputs prevents you from thermally shocking the brake discs and pads (the tell take hairline cracking on the surface of a disc is a sign they’ve been thermally shocked – it drastically reduces their service life).
Time to bed
Now the brakes have been carefully brought up to a good initial temperature it’s time to really get them bedded in.
We’re going to accelerate and brake, repeating the process 7 to 10 times depending on the car (heavier cars will put more temperature through the brake system more quickly).
Again, maintain an awareness of the cars around you and use a safe area of the circuit to execute this procedure.
Accelerate (as safely as you can) in a straight line, and get on the brake pedal with maximum pressure. Don’t just stamp on the pedal (you’ll lock your wheels which isn’t good) but do use close to your typical amount of brake pressure. Carry out a drastic reduction in speed but don’t stop!
Depending on your car choose a maximum speed of around 80mph, reducing that by 50 or 60% in the braking phase.
Immediately after you get off the brakes, accelerate again and repeat this procedure.
You may experience some fade in your brakes after the 7th or 8th near-stop, depending on the brake type and vehicle. You may smell the brakes too! This is normal and nothing to be concerned about.
At the end of the final stop cycle, cruise at a reasonable speed for a few minutes to cool the brakes down. Choose your speed so that you don’t need to use your brakes but use a speed that won’t cause too many problems for oncoming circuit traffic.
Once your brakes have cooled, you’ve completed your bedding in cycle.
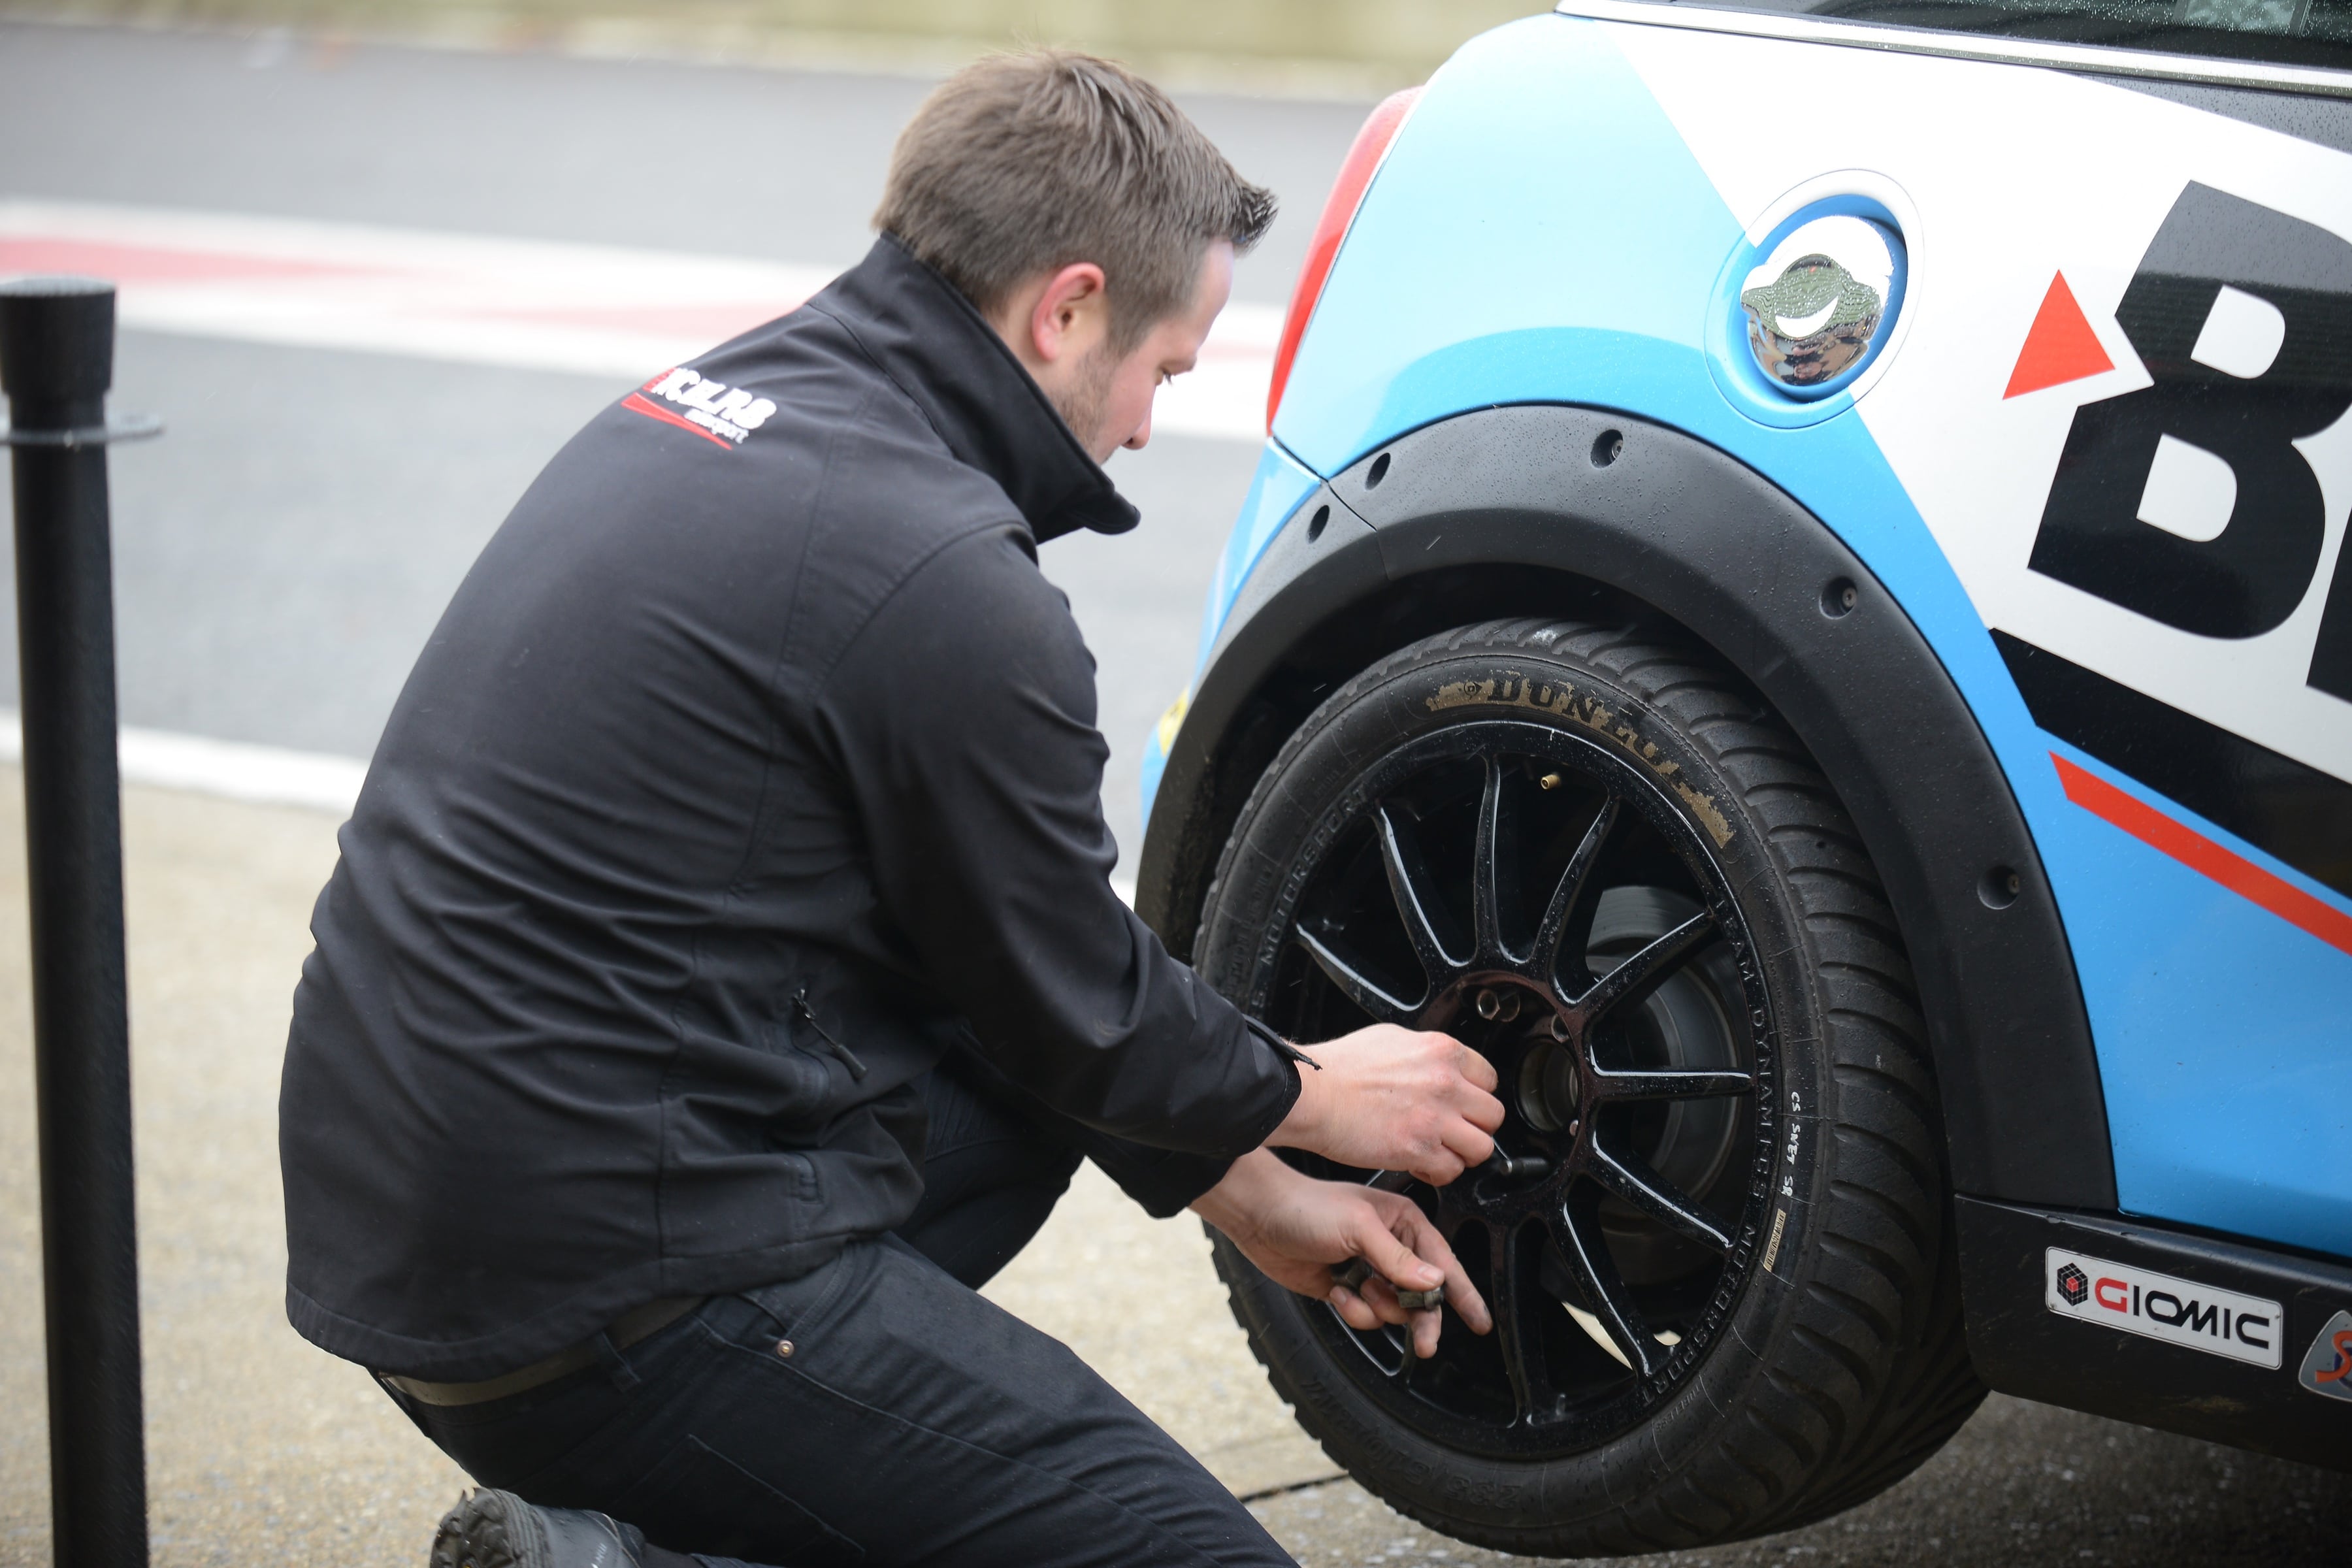
You can now return to the pits to inspect your new installation.
if you inspect the surface of the discs, Zeckenhausen has this advice for what to look out for:
“After the break-in cycle, there should be a slight blue tint and a light grey film on each rotor face. The blue tint tells you the rotor has reached break-in temperature and the grey film is pad material starting to transfer onto the rotor face. This is what you are looking for. The best braking occurs when there is an even layer of of pad material deposited across the rotors. This minimises squealing, increases braking torque, and maximises pad and rotor life.”
You’re ready to go
In your next track session you should be able to bring the brakes up to temperature as you normally would – perhaps being a little more sympathetic than usual but still able to get to full pace within a few laps.
For more tips on track days and driving technique, take a look at our track day guide and our free Driver’s University.