Spa is, without doubt, one of the world’s most exciting tracks at which to drive. Our Definitive Circuit Guide to Spa-Francorchamps dives into the detail of what it takes to be quick around this awesome circuit, analysed by our professional racing driver, Scott Mansell. This circuit guide will cover:
- Racing lines for Spa-Francorchamps
- Braking references
- Apex points and curb analysis
- Vision and where to look
- What it takes to put a great lap together
Scott uses onboard footage along with an interactive display to clearly explain each detail of Spa’s 20 turns and 7 km of winding circuit. Thanks for watching!
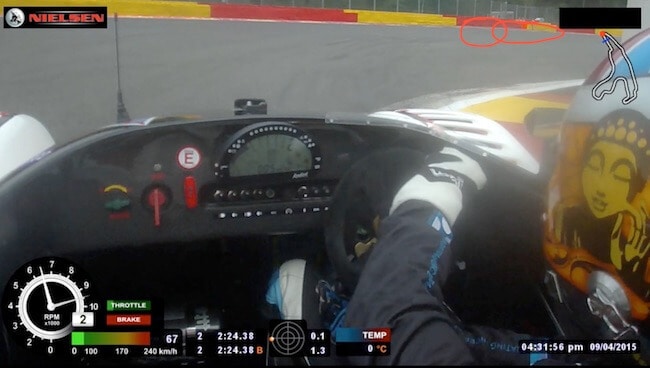
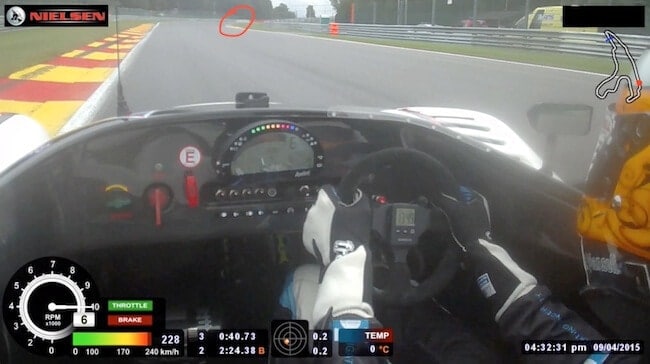
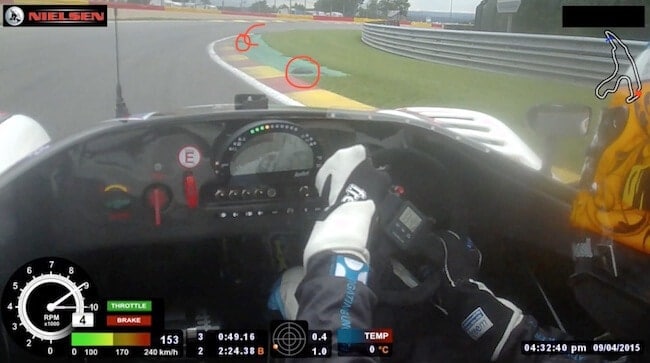
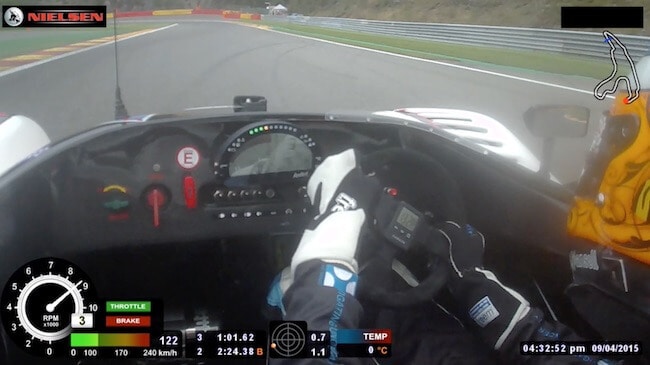
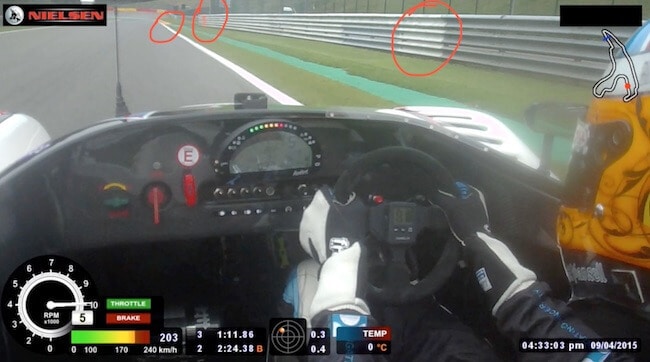
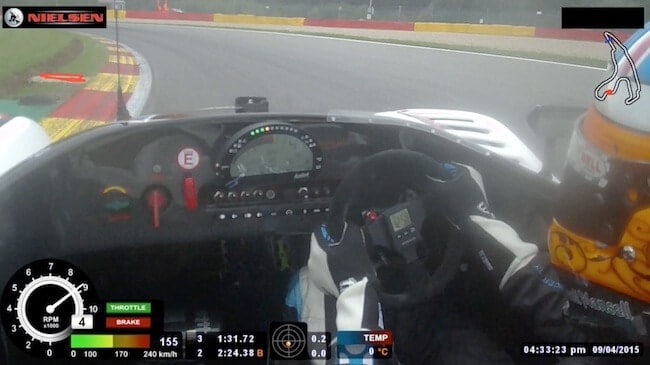
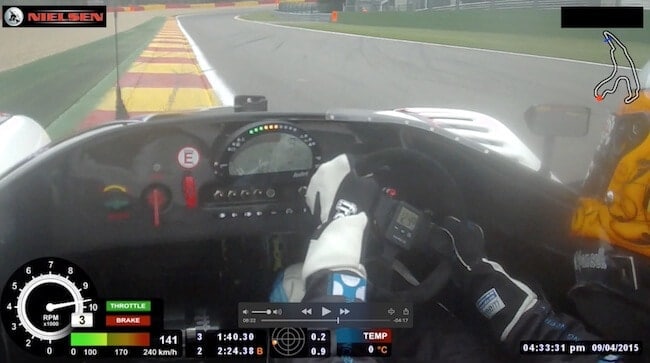
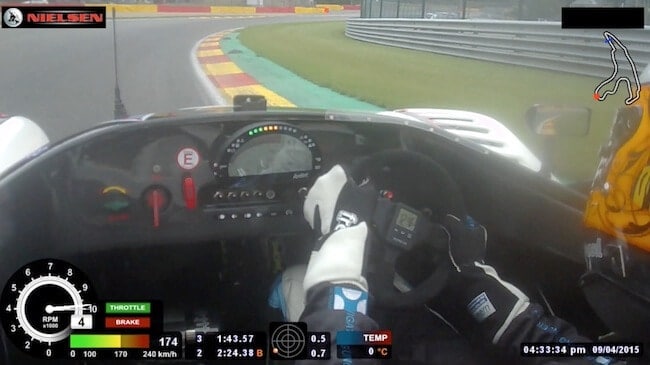
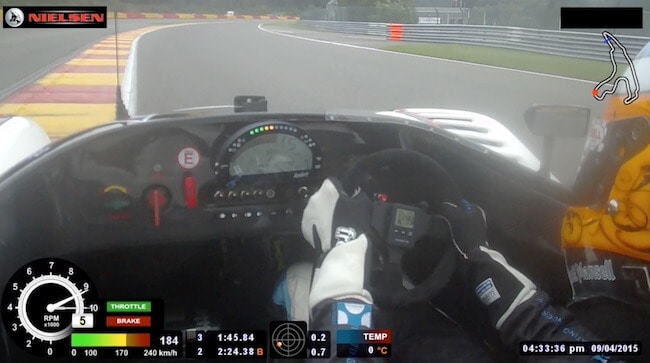
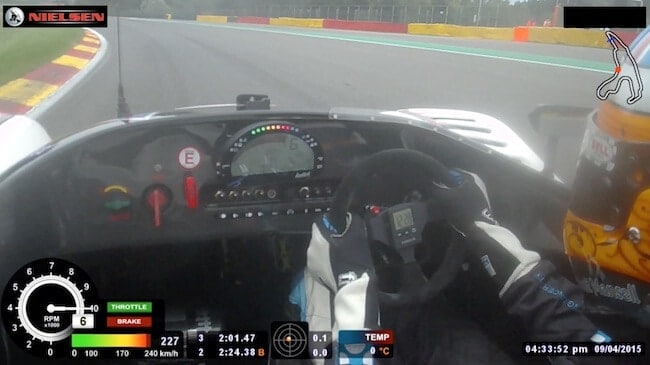
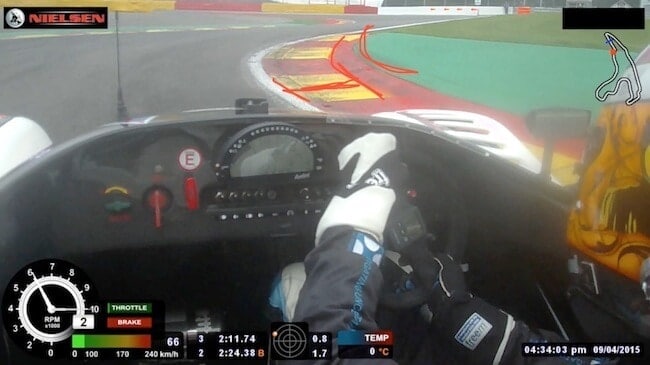
La Source
A tight, hard-braking (usually) 2nd gear hairpin, with a slight dip just before the apex. Focus on the exit as there’s a decent straight after it, especially if you’re flat though Eau Rouge.
Approach
- Know that there is a tarmac run-off beyond La Source in case you brake too late
- There are braking marker boards running down the fence on the left side (150m, 100m, 50m)

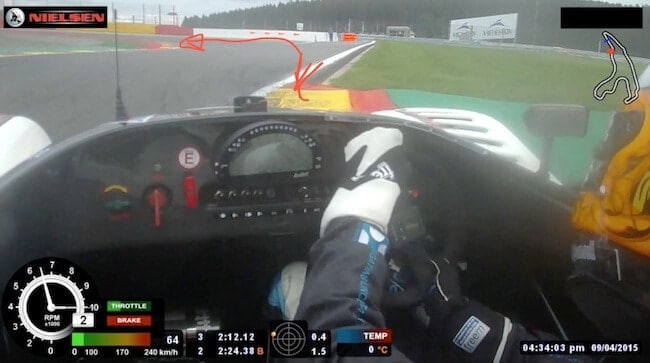
Braking
- Heavy braking and downshifts are require for La Source
- Ensure the car is in a straight line when braking
- You’re vision should be towards the apex (not at the braking references)

Apex
- There is a small dip as you come in to the apex
- Use as much curb as possible to open up this slow corner
- The curb is flat and won’t unsettle the car
Exit
- Getting a good exit is critical as there is a long straight following La Source
- Make sure your vision is up and looking for the exit point and exit curb

Exit Curb
- You can use all of the exit curb as it’s flat
- Be careful with this curb in wet conditions
- Take note of the ‘speed bump’ on the outside of the normal curb, it continues for a few hundred meters
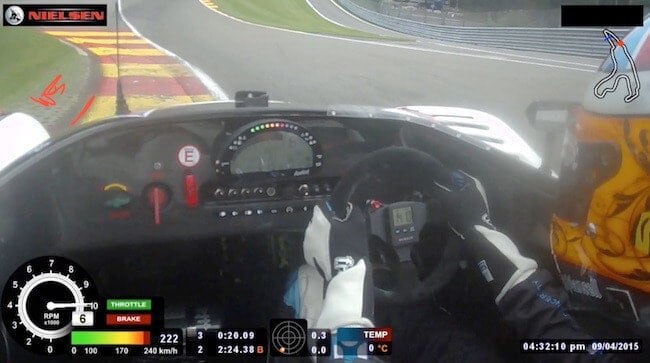
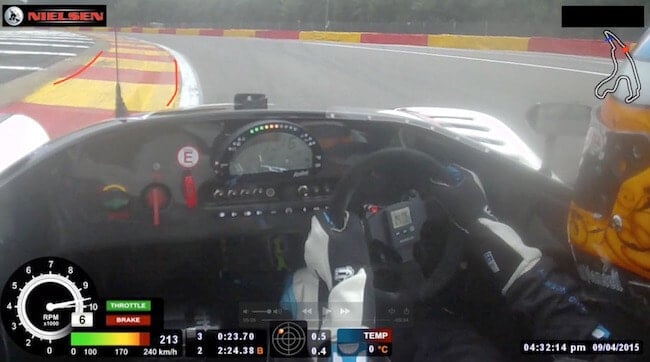
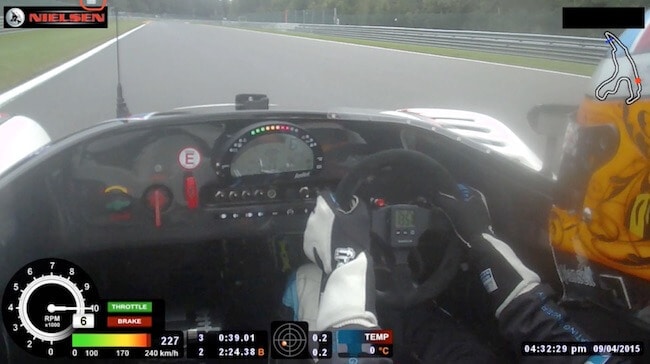
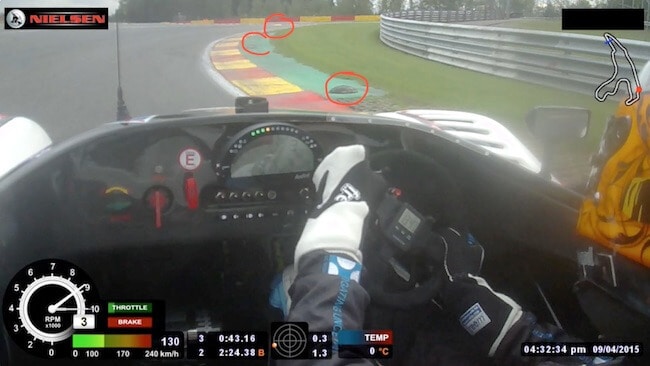
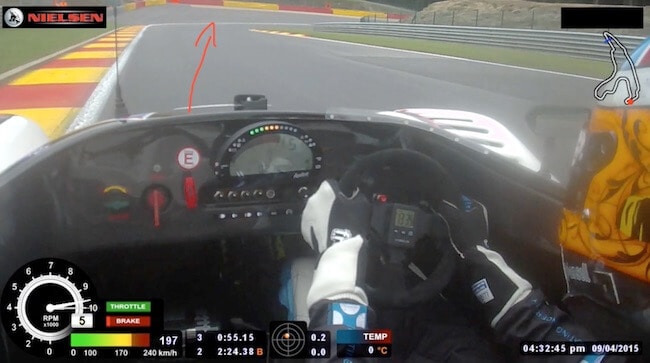
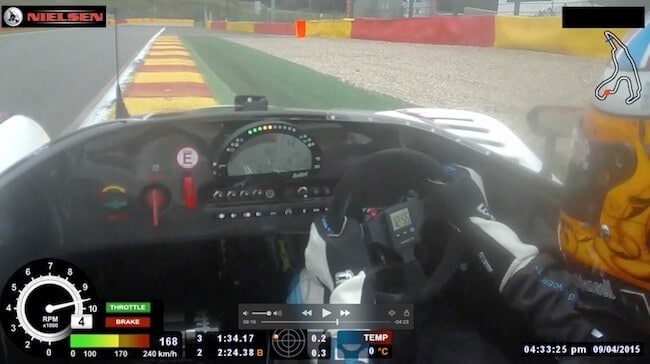
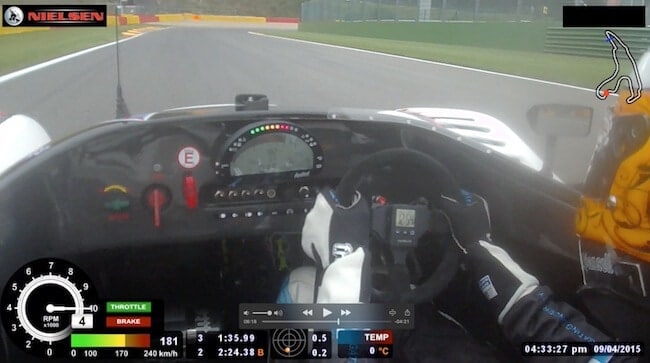
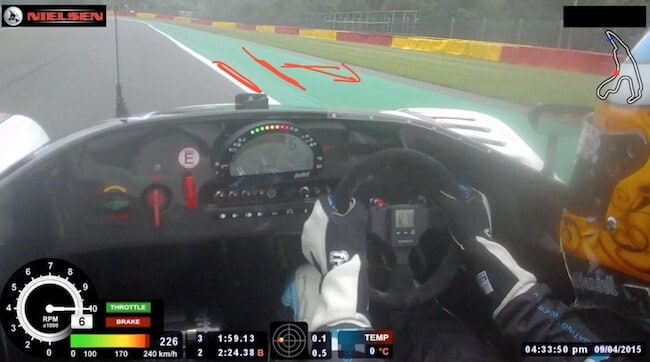
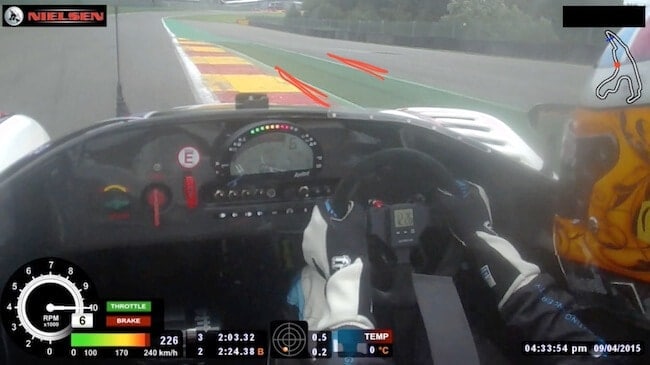
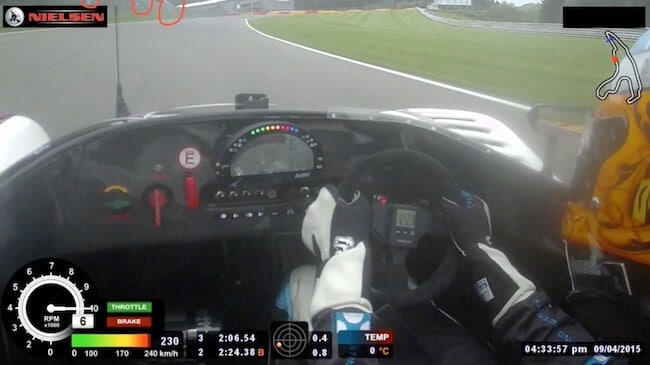
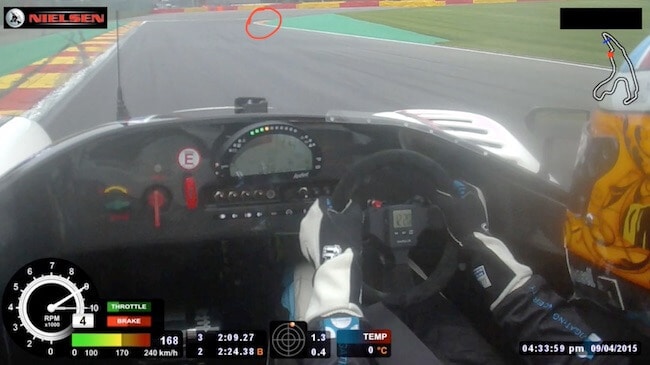
Eau Rouge and Raidillon
Next up is the incredible fall and rise of Eau Rouge and Raidillon – the most famous corners at Spa. This section of track is not for the faint of heart and is very fast in all cars. Be smooth with all your inputs and take your brave pills.

Approach
- Keep the car to the right, near the old pit wall
- As you’re going so quickly, your vision needs to be a long way ahead – down at the curb on the left of Eau Rouge
Eau Rouge Apex (left)
- Gently bring the car into the apex
- You can use all of the curb
- Ensure your vision is looking up the hill, towards the brow of Eau Rouge

Eau Rouge Apex (right)
- The apex is at the second ‘lump’ in the white line (see video for better description)
- Ensure all inputs are smooth
- If the car gets out of shape, there is limited run-off on the left, so use it if you feel the car might spin
Raidillon Apex
- Use all of the flat curb to open up the racing line
- Make sure your vision is well ahead, looking for the curb on the outside

Exit
- Curb is flat, so use all of it to maximise exit speed
- There is some astroturf and run-off tarmac on the outside incase you make a mistake (be very careful of astroturf in the wet)
- The next straight is very long, so check mirrors and car’s temperature etc. and if you’re racing it’s an overtaking/defending spot
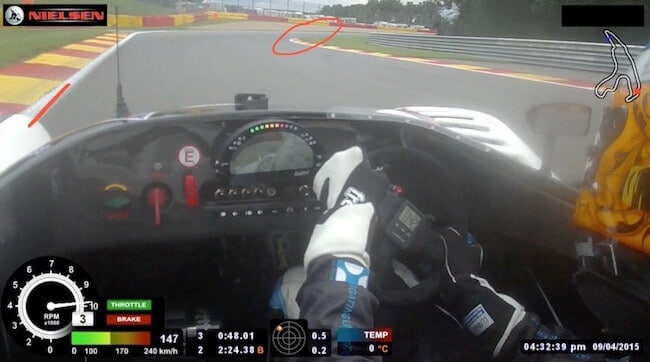
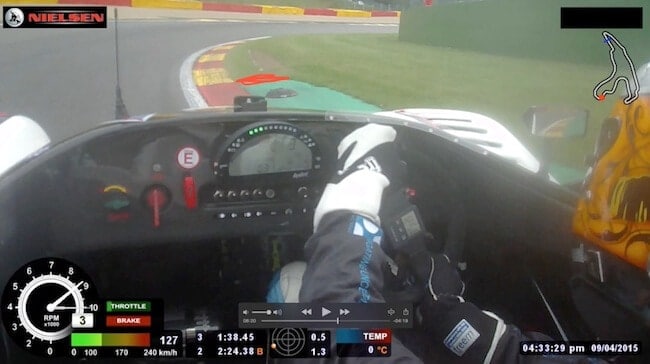
Les Combes
After Spa’s longest straight comes Les Combes, a medium speed right-left-right. Les Combes is all a bit of a compromise, but your focus should be on the final right hander as there’s a short straight following.
Approach
- Keep the car over to the left
- There are braking markers on the fence on the left (250m, 200m, 150m)
- There is a tarmac run-off area, so if you lock up or make a mistake carry straight on and navigate around the small speed bumps
Braking Area
- Keep the car all the way over to the left, you can use a little of the entry curb in the dry (don’t touch it in the wet)
- Your vision should be all the way down at the apex curb
Les Combes Apex (right)
- The apex at Les Combes is quite late between the 2nd and 3rd ‘buttons’
- Do not hit the buttons, they are very solid
- Get your vision across at the left of Les Combe as you approach this apex
Les Combes Apex (left)
- There aren’t really any apex markers for this left, however if you have you vision well ahead of yourself you’ll find the right line (watch the video for more detail)
- Don’t use all the track on the outside as you come out of this left, only about 75%, otherwise you won’t optimise the final right
Les Combes Right (Approach)
- Make sure you get the car back to the left of the circuit as much as possible
- Vision should be at (and through) the next apex
Les Combes Right (Apex)
- Apex at 2nd and 3rd button
- Use a little curb, but do not touch the buttons (they’ll cause damage)
- Vision at exit point along the exit curb
Exit
- Exit curb is flat, use all of it
- You can use a bit of the green concrete too (in the dry)
- The gravel trap comes towards the circuit as you exit, so get the car between the white lines ASAP
Bruxelles
There is a short straight after Les Combes as we fall slightly downhill towards the corner of Bruxelles, formerly Rivage. Heavy braking again and a couple of downshifts are needed before a lot of patience in this 180 degree downhill bend.
Approach
- The approach to Bruxelles is downhill
- There are braking marker boards on the left fence (150m and 100m)
- If you’re in a car that slows quickly, you can also use the start of the entry curb
- Again, there is run-off tarmac around the outside, so use if you out-brake yourself
Braking Area
- Keep the car all the way over to the left, you can use a little of the entry curb in the dry (don’t touch it in the wet)
- Your vision should be all the way down at the apex curb
- There are a couple of different lines into Bruxelles, depending on your type of car

Apex
- A very late apex (see video for more detail)
- After the final buttons inside the curb
Exit
- The exit is a compromise
- Don’t run too wide, otherwise you’ll compromise the next corner with is important as it has a following straight
Turn 11 (no name)
Quickly after Bruxelles comes Turn 11, which randomly doesn’t have a name, but is a medium-speed left with a slight downwards gradient. Still, it’s an important corner at Spa-Francorchamps as it has a decent straight following it.
Turn-in
- Make sure you get the car over to the right, to open up this left-hander and maximise exit speed
- Don’t touch the entry curb as I did on this lap – watch the video to see what happens
- Vision should be at the apex curb
Apex
- You need to be closer to the curb than I am on this lap!
- Apex at the 2nd button
- Vision should be through the corner, at the exit curbing
Exit
- You can really use a lot of the exit curb
- Be careful of the astroturf (especially in the wet) ad you can slide and then spin towards the inside wall – which isn’t far away
- Bring the car back between the white lines before the end of the curb, as there are bollards
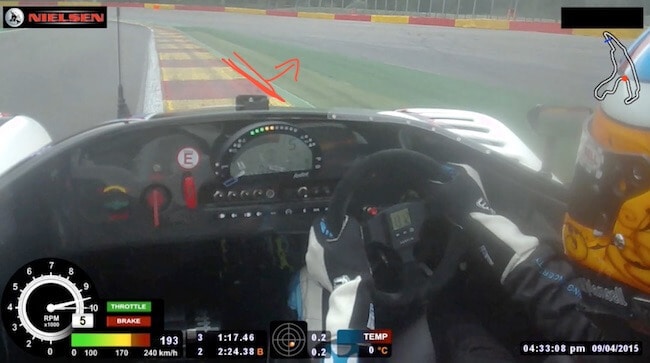
Pouhon (Double Gauche)
Following a downhill straight comes the high-speed, hugely enjoyable, Pouhon corner – one of Spa’s finest. It’s a double apex left hander, with a very difficult entry phase.
Approach
- Most cars will require a lift or brake for Pouhon
- There are many references along the barrier on the right (watch video for more detail)
- Approach is downhill
- There is some run-off tarmac on the outside
Turn-in
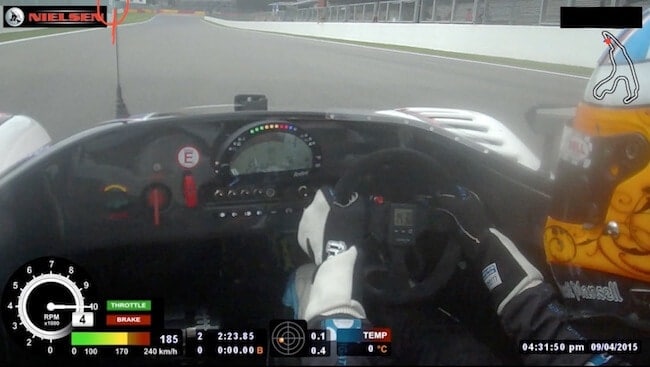
- As we’re travelling so quickly, ensure all movements are very smooth – we don’t want to unsettle the car
- Vision should be down at the first apex (where the ‘S’ is in Nielsen)
- Rear of the car may be light as it’s downhill

Apex 1
- No apex reference
- Do not use the curb – it may unsettle the car
- Drive up against the white line
- Vision should be towards the exit curb as highlighted
Exit 1
- Use all the curb in the dry
- Do not use it in the wet
- Do not ‘fall off’ the curb – you’ll go on to the astroturf and won’t be able to get back on the grippier track without reducing speed
- Vision at next apex

Apex 2
- Again, no real apex marker
- By this time you should be beginning to accelerate, if not flat
- Vision should be at the exit curb

Exit 2
- Use all of the flat exit curb to open up the corner and maximise exit speed
- Do not run on to the astroturf – if it makes you slide, you could spin towards the inside of the track and the barrier is close here
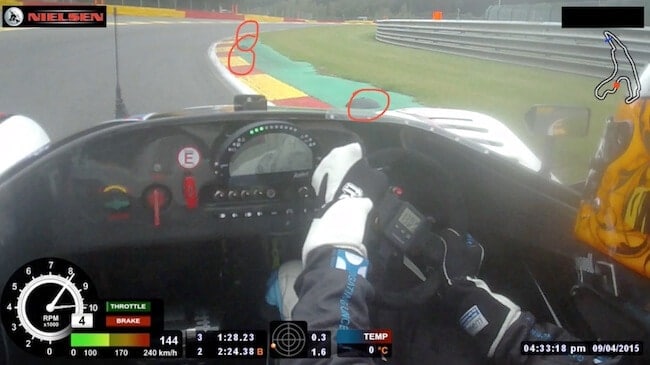
Fagnes
After another medium length straight we have the medium-speed right-left of Fagnes. Both entry and exit are equally important, as well as carrying good speed on the transition.

Approach
- There are a couple of braking references on the left, depending on your car – namely the end of the barrier and the start of the entry curb
- Make sure you’re parallel with the white line before braking
- Turn in gently, the apex is late
Apex (right)
- Again, there are buttons on the inside of Fagnes
- The apex is after the 3rd button, where there is some green concrete
- As you approach the apex, move your vision to the next apex
Apex (left)
- Buttons on the inside of the left too
- Again, it’s a late apex – after the buttons, where the red mark is on the image
- Don’t be tempted to get on the throttle too soon here – you’ll likely push wide at the exit
- Move vision to the exit curb
Exit
- Use all of the flat exit curb to open up the corner and maximise exit speed
- Do not run on to the astroturf – if it makes you slide, you could spin towards the inside of the track and the barrier is close here
- Begin to bring the car back to the left hand side of the circuit as the next corner (Campus) is close
Campus (Stavelot)
Next up is Campus (formerly Stavelot) and this is the point where we begin heading back up towards the start-finish line. There’s two corners to it, and if the second part is flat in your car, the first part is critical as there’s a huge log straight that follows. It’s also one of the only corners at Spa where there is still a gravel trap (sorry Pastor).
Approach
- There are a couple of braking references here, namely the yellow and red on the tyre wall or the start of the entry curb (if you’re in a quick slowing car)
- There is a gravel trap on the outside, so make sure you don’t make any mistakes here

Braking Area
- Keep the car all the way over to the left, but do not use the entry curb
- Make sure your vision is at the apex curbing
Apex 1
- Apex is at the end of the concrete (on the inside of the curb)
- There are buttons on the inside of the curb – don’t touch them
- As you approach the apex, move your vision towards the exit curb
Exit 1
- Use all of the curb here, it’s smooth and flat
- Ensure you’re on the throttle as soon as possible, as it’s likely (if the next corner is flat) that you’ll be at 100% throttle for a long time
Apex 2
- Apex is between the 2nd and 3rd button
- Entry is quick, can be flat in a lot of cars
- Pick your vision up towards the exit curbing
Exit
- Only use about 50% of the exit curb as is quite heavily serrated
- Aim to have carried as much speed as possible as we’re going to be flat for quite a while
Blanchimont
After a relatively long ‘straight’ we approach the infamous Blanchimont – an extremely fast left-hander which has now been sanitised slightly, with run-off tarmac on the outside. You still need to be careful here, however, as it’s still possible to have a monumental accident.
Approach
- The approach to Blanchimont is very quick
- Make sure any reduction in speed is done with smooth inputs off the throttle or onto the brake
- Open up the corner as much as possible, using all of the road on the right
- You can use some of the green concrete on the entry, but don’t use too much as it become cambered (see video for more detail)

Turn-in
- You should already be looking towards the apex – quite a long way aead of yourself, as we’re travelling at such a high speed
- All inputs into the steering wheel must be very smooth
Apex
- There is no specific apex reference (watch the video to see the racing line)
- Do not use the curb here as you do not want to unsettle the car
- Move your vision to the exit curb
Exit 1
- The exit curb at Blanchimont is flat – so use all of it
- There is astroturf on the outside. Do not use this!
- If you make a mistake there is some tarmac run-off around the outside, but if you do use it you need to be really careful as the barrier is very close
Chicane
After all the excitement of Blanchimont, it’s time to slow things down for the slightly awkward right-left chicane, the final corners at Spa-Francorchamps. You’ll need to compromise the first section to maximise your exit speed on to the start/finish straight.
Approach
- There are braking distance boards that run down the fence on the left
- There’s a slight kink in the track before the braking area, so you’ll likely be braking across the circuit (see video for more)
- There is a tarmac run-off, so if you out brake yourself by a few meters, it’s not a huge issue
Braking Area
- You should gently bring the car (in a straight line) across to the outside of the track in the braking area
- There’s a bump along the braking area, so be mindful of this
- Your vision should be down at the apex curb on the right
Apex (right)
- You’ll want to use all of the yellow and red curb
- Do not use the red ‘sausage’ curb, as it’ll unsettle the car
Apex (right) 2
- You want to run the right front tyre over the section where the curb meets the track (in red)
- This will open up the next left as much as possible and so you can carry lots of speed on to the following straight
- Move your vision to the left apex curb
Apex (left)
- In most cars you’ll want to use all of the curb on the left
- Again, do not use the ‘sausage’ curb
- I wasn’t using the curb in the example, as it caused the Radical’s inside wheel to spin up
- Move your vision to the exit curbing
Exit
- Use all of the curb on the exit to open the corner and carry the maximum exit speed
- The curb is quite smooth and flat
- Do not use the astroturf (especially in the wet) as it could cause wheelspin and good traction here is important to lap time
SPA DRIVER COACHING & INSTRUCTION
Our circuit guides are a useful resource before you head to your track or test day, but your progression on track will always be faster with the help of a driver coach. We have a list of certified instructors to make you faster at Spa here.
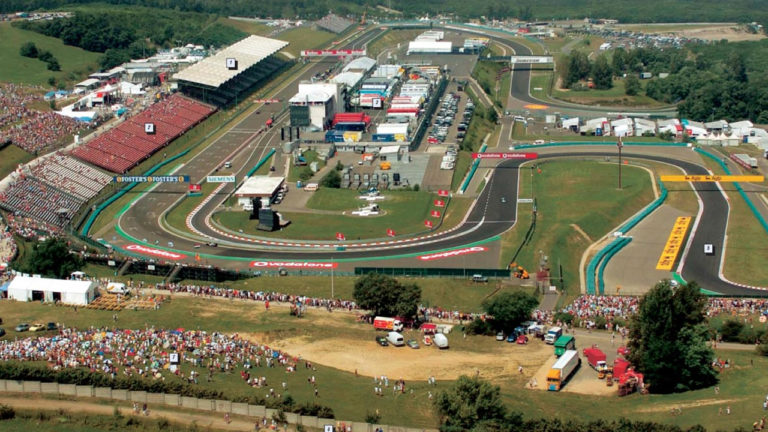
TRACK MAP
If you’d like to follow our circuit guide with a track map, use the following diagram of Spa.

CIRCUIT ADDRESS
Trying to get to Spa? Here’s the address:
Circuit de Spa-Francorchamps, Route du Circuit 55, 4970 Stavelot, Belgium
Start / Finish GPS
Start / Finish Line: 50 26’38.7″N 5 58’6.0″E (map link)