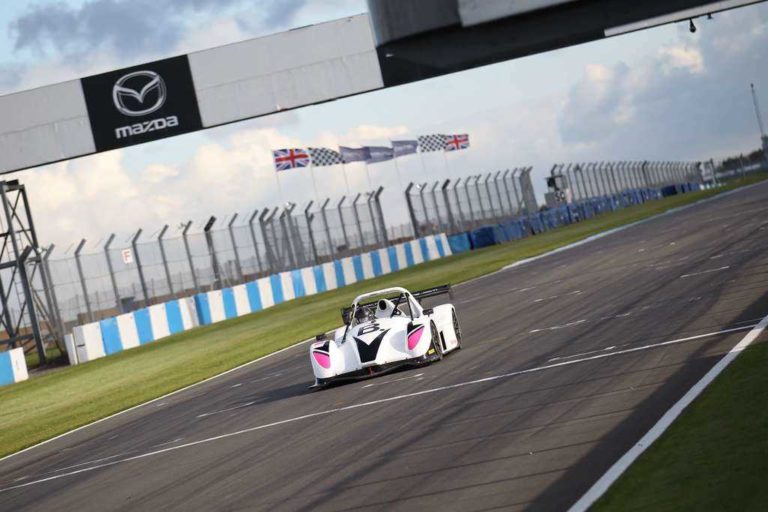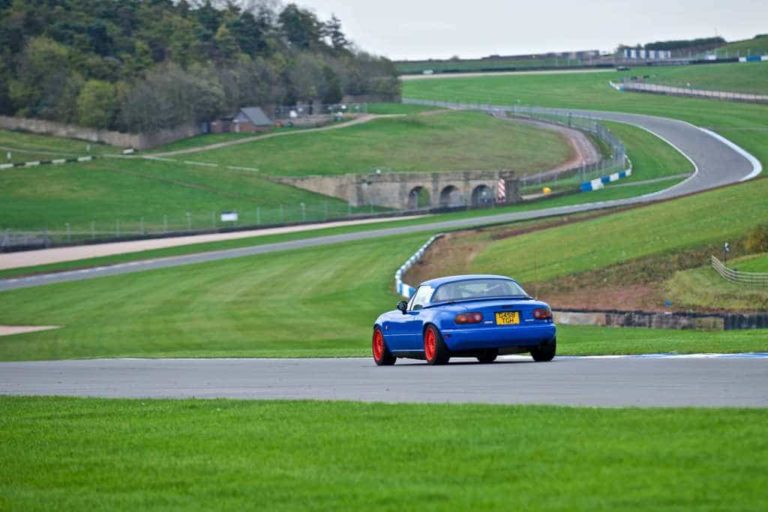
Welcome to the Driver 61 Definitive Circuit Guide to the Snetterton 300 circuit. Snetterton is a 2.99 mile MSV owned track with twelve turns and a mixture of technical and fast sections.
This guide examines everything you need to be fast at Snetterton including, braking references, racing lines and local knowledge – all from the onboard camera of our resident driver coach, Scott Mansell.
SNETTERTON DRIVER COACHING & INSTRUCTION
Watched our circuit guide for Snetterton but want more help on your test or track day? A 1-to-1 driver coach will mean your track time is as efficient as possible, and you can make massive improvements with your driving technique. Find a driver coach with our list of Driver 61 certified instructors here.
TRACK MAP
It can be useful to follow the circuit guide with a track map. Below you can find the Snetterton 300 track map.
If you’d like to make notes at your next track or test day, use one of our handy track map driver’s sheets here.

CIRCUIT ADDRESS
Need the address to Snetterton?
Snetterton Circuit, Harling Road, Norwich, NR16 2JU.
Start / Finish GPS
Start / Finish Line: 52 27’48.2″N 0 56’41.0″E (map link)
CIRCUIT GUIDE
Riches (Turn 1)
The regular line down the pit straight runs up against the pit wall on the right-hand side. The reason being that the final corner at Snetterton is a left, so we naturally end up on the right.
We may as well stay on the right as it puts us in a defensive position along the straight if we’re racing, and allows faster cars to pass if we’re on a track day.
Once we get to the end of the concrete pit wall, you should begin to move your car over to the left-hand side of the circuit, which gives us time to get the car’s platform flat before we head into turn one, Riches.
Turn one is a high-speed, double-apex right-hander – a brilliant corner in all cars.
As it’s a quick turn, we must be quite delicate with the brake pedal – being careful not to transfer too much load to the front tyres and cause too much oversteer. A little is ok; a lot will send you spinning into the field.
As we approach, there are a couple of references for braking as you can see in the video. We have the end of a barrier (marked with an orange board), a three line brake board, a speed trap line going across the circuit and a two line brake board.
Which one of these is closest to your braking point depends on your car, but the important thing is to be conscious that they’re there. That way you can remember and possibly push a little deeper on the following laps.
As we turn-in to Riches your vision needs to be a long way ahead of yourself, remember the faster you’re going, the further ahead you need to look.
It’s difficult to see the first kerb at Riches, so you’ll need a few laps before you can properly commit. Your steering input wants to be very smooth as you need to do your utmost to keep the rear stable.
At the first apex, I wouldn’t advise using any of the kerbs. It’s a somewhat ‘old school’ kerb, uneven and pretty steep. The way kerbs are supposed to be.
By this point, you should have re-engaged the throttle, so to settle the rear of the car. Once passed this first apex and towards the mid-corner, we allow the car to push about a car’s width away from the inside of the circuit.
Then we enable the car to head towards the second apex, again don’t use any of this kerb as it’ll unsettle the car too much. By this point, you should be almost or fully flat on the accelerator pedal.
Now you should have moved your vision to the exit point, looking for the kerb on the outside.
If you brush up against the kerb on the outside, then you’ve used enough road. The risk for reward here is quite significant – drop a wheel on the grass, and you run a high chance of ending up in the inside barrier, which isn’t far away.
Montreal (Turn 2)
Next, there’s a short straight before we head to turn two, Montreal. Montreal is the tightest corner on the Snetterton 300 circuit.
You can make lots of time here on the brakes, so finding and pushing your references is essential to a good lap time.
As with most of the corners at Snetterton, there are braking boards. On the run down to turn two, we have three boards with three, two and one stripe accordingly.
As I mentioned before, at the beginning of the session start braking earlier than you think you should, but be conscious of your reference point.
Then, move another 5 or 10 meters down the road, gradually taking smaller chunks out of the braking zone, until you overstep the mark by a few meters. Once you’ve reached this point, bring your braking position back a little.
It’s important that you turn your head a lot here, the apex is a long way around the corner. You’re looking out for the red sausage kerb on the inside; the apex is just after that.
Once you’ve made the apex, it’s time to begin to get back on the accelerator.
Your vision should have already moved to the exit point, which is a triangle of kerb on the left. If you run directly over the point of the triangle, you know you’ve nailed the exit.
Palmer (Turn 3)
Again, there’s another short straight before we head into turn three. Palmer is a long left-hander, which in most cars doesn’t require a lot of deceleration.
Due to this, it’s important that we think about how smooth our lift off the accelerator or input into the brake pedal is. If your input is too harsh, you’ll likely cause some oversteer and will be unable to carry optimum speed to the apex.
You can run the kerb from about 1/4 to 3/4 of the way along it – it’s fairly flat, so unless you have a car that isn’t very compliant, it shouldn’t unsettle it too much.
Make sure that your vision is a long way ahead throughout Palmer’s. Spotting the exit well will allow you to drive the perfect racing line and carry the maximum speed out of the corner.
You’ll want to run the kerb on the exit, however, don’t run beyond the kerb. There’s a track limits sensor in the grass that takes a picture of you for the officials.
MSV circuits are extremely harsh when talking about track limits, and can even take track time away from you if you run off the road too often.
Agostini (Turn 4)
Once out of turn three there’s a medium length straight down to another hairpin, this time a left-hander called Agostini.
As with all hairpins, being late on the brakes is important, and as with the previous hairpin, we have similar braking boards. Therefore, I won’t run over the technique; you know what to do.
Again the apex or clipping point is about 3/4 of the way around the turn, and we must have our vision there while we’re in the braking zone. You can use the kerb on the apex; it shouldn’t unsettle the car too much.
Just before you’re at the apex, shift your vision towards the exit. The exit kerb is plenty visible, so spotting it is easy and you should be able to find a good line out of the turn.
Hamilton (Turn 5)
After a short-medium length straight, we have a medium-speed, and quite tricky, left-hander called Hamilton.
In most cars, Hamilton will only require a gentle brake or possibly only a lift from the accelerator. The deceleration zone is so short that we do not use a braking reference here – our eyes should be firmly set on the apex.
The apex of Hamilton is easily visible due to the large block sat on the inside of the kerb. This is MSV’s way of strongly suggesting that we should not cut corners – otherwise, the front of our cars will be ripped off.
You can use the inside kerb, but due to the large block, you must ensure that you are highly accurate.
Visibility at Hamilton is good, and you can see through the corner, so before you are at the apex, ensure your vision has moved up the road to look for the exit kerbing.
You’ll want to use all of the kerbing on the outside of Hamilton, but don’t run too wide as there’s another track limits sensor that will report you to the officials.
Oggies (Turn 6)
After a short straight, we head down to a slow-speed right-hander that opens up slightly on the exit: Oggies.
Due to the short straight, we need to get the car over to the left-hand side of the circuit as quickly as possible after Hamilton – then our braking for Oggies can be done in a straight line for maximum efficiency.
There aren’t many braking references here, the only one being a turning board on the left, but this is too late for most cars, so you’ll have to estimate the number of metres before it.
The important thing is to ensure your vision is across at the inside of the corner; the apex is approximately half way down the inside kerb.
As you gently bring the car into the apex, you can use all of the kerb – it shouldn’t unsettle that car too much. It can be inviting to use some of the grass-crete on the inside too, but when you drive back over the kerb, there’s a bump which will destabilise most cars.
Before you are at the apex, you should have moved your vision to the exit point of Oggies. The exit is a little unusual here as you do not make the outside of the circuit for quite a while. The reason being, that after the initial tightness the corner opens a little.
You can spot the exit point as there’s usually an area of worn grass where saloon cars have run wide.
Williams (Turn 7)
After another short straight, we have one of the most important corners at the Snetterton 300 circuit, a medium-fast right-hander named Williams.
As with many of the other corners at Snet, Williams usually only requires a soft brake or a lift from the accelerator.
We should always be thinking about getting a strong exit from Williams, as it leads on to the very long Bentley Straight – any extra speed that we can carry out of Williams will be taken all the way along the straight and mean a real reduction in lap time.
As we do not require much deceleration into Williams, we won’t use a braking reference. The most important thing is to have your vision a long way ahead, searching for the apex.
The apex can be found almost exactly where the block of tyres on the inside of the corner are (the same as there was at Hamilton) – so this is where you need to have your head looking.
Your input into the steering and brakes (or lift off the accelerator) must all be done with complete smoothness. Any harsh movements could cause the car to slide and ruin your exit speed.
As you reach the apex, you can use all of the inside kerb, just be careful with the tyre block as we don’t want to take the front off the car.
You’ll be blending in the throttle as smoothly and as early as possible, in order to get a good exit, and by now your vision should be toward the exit kerbing.
As with many corners at Snetterton, there’s a track limits sensor on the outside. Use all of the exit kerbing, but don’t run too wide and onto this sensor, unless you want to go and speak with the circuit officials.
Once you have exited Williams, you have a long, long straight. Here you will have time to check your temperatures and pressures and check your mirrors.
If you’re on a track or test day, bring the car over to the right so faster cars can come through. If you are racing, keep the car over to the left for the majority of the straight in case you need to defend – you’ll give a huge tow down this straight.
Brundle and Nelson (Turns 8 & 9)
Along with the final two corners of Corum and Murrays, Brundle and Nelson are the most technical on the Snetterton 300 circuit.
The reason Brundle and Nelson are so difficult is that you have to turn during the braking phase – which requires a whole lot of skill.
You’ll most likely get on the brakes twice, or rather you’ll have two peaks in pressure. One in a straight line before Brundle, then a decrease in pressure before another peak as everything settles before Nelson.
Before we arrive at Brundle, we need to shed a lot of speed directly after the Bentley straight. As we enter the braking zone, you’ll notice quite a few references, namely a three-line braking board, an access road, followed by a two and one-line braking board.
As always, where you brake depends on your car’s ability and your experience level, but the idea is to be conscious of where you’re braking and, if you can, brake a little later each lap.
There’s also a run-off area on the outside of Brundle, so if you do go in too fast, you can always go straight on and rejoin the circuit further round.
In the braking zone, your vision needs to be towards the inside of the corner, although it does not properly come into view until you turn in, there’s a barrier blocking the view.
Once you have turned in and can begin to see the kerbing on the inside, you’ll notice there are a couple of bollards; the apex is just after the first set.
After the apex of Brundle, you’ll need to keep the car over to the left-hand side as much as you can. It is a common mistake here to allow the car to move too far over to the right, resulting in a poor racing line through Nelson and a subsequently poor exit.
Once you’re through Brundle, try to have the car in a straight line, with a flat platform, so that we can increase the brake pressure once more and brake as efficiently as possible before Nelson.
From the apex of Brundle, your vision should have quickly moved to the apex of Nelson – signified by a large sausage kerb on the inside.
Nelson is a slow-speed right-hander where you can use all of the inside kerb, but make sure you stay off the massive sausage kerb – it’ll disrupt the balance of your car too much.
If you make the apex at Nelson correctly, the exit is relatively straight forward.
You can use all of the exit kerbing, but again don’t run too wide as there’s yet another track limits sensor located in the grass.
Bomb Hole (Turn 10)
After another short straight, we have the Bomb Hole, a medium-high-speed right-hander with quite a lot of camber.
The bomb hole can be almost or entirely flat most cars, making it an exciting corner.
There’s no need for a braking reference, with the importance being on good vision as you approach the turn – make sure you’re looking at the inside kerbing long before you arrive there.
The turn-in needs to be quite gentle, and usually quite a bit before where you might expect. There reason being that when you arrive in the corner, the camber drags you round.
The apex of the bomb hole is about half way along the kerbing, of which you can use all of it. Just before this point, make sure that you have moved your vision up the road, and that you have found the exit kerbing.
From apex to exit you need to be a little careful with the rear of the car, as when you leave the camber you might oversteer – so be ready for it!
You can use a little of the exit kerbing, but it’s a fine line between finding it and ending up on the grass, which can cost you much time.
Corum and Murrays (Turn 11 and 12)
The final two corners in our Snetterton track guide are Corum and Murrays – the two most challenging turns of all.
In most cars, the turn-in to Corum is flat out. The corner continues on an extremely fast and wide arc for almost 180 degrees, before you need to begin deceleration for a slow-speed left.
This section of Snetterton requires lots of skill, and it’s easy to make a mistake.
As we are going quickly, it’s important your vision be a long way ahead of where you currently are. Any reference as you enter Corum is hard to spot, so it’s going to take a few laps for you to build up.
The first reference, for the first apex, is where the small inside kerb begins. You cannot see this from where you will need to turn in, hence the need of a few laps before you start pushing.
After 20 or so meters, the small kerb changes into a large, wide kerb. It’s at this point where you’ll likely allow the car to push slightly wider, away from the inside white line.
When the wide inside kerb ends, there are bollards at sections on the inside of the corner. Notice these and use them as references, as with such a long corner it can be difficult to know exactly how far round you are.
At some point (car and experience dependent) between the small kerb and the bollards, you’ll need to begin deceleration.
Because the car will be turning as much as possible already, you’ll need to be really smooth with your lift from the throttle and your initial input into the brake pedal (see our grip tutorial for more info).
Once you have started braking and the weight has transferred smoothly to the outside front tyre, you can begin to increase the brake pressure.
As you’re decelerating, ensure that you keep the car over to the right-hand side. Again, it’s a mistake to allow the car into the centre of the circuit – Murrays is followed by a long straight, and we need to maximise the exit.
Before we finish our braking through Corum and into Murrays, we should have shifted our vision to the inside kerb of the slow left-hander. This way we can drive the perfect racing line and carry the optimum speed into Murrays.
You want to use all of the inside kerb, to open the corner as much as you can, but don’t use the sausage. From here we’re trying to apply the throttle as efficiently as possible to propel ourselves down the start/finish straight.
Move your vision to the exit kerb before you reach the apex to best estimate when and how hard to apply the throttle. You can use all of the exit kerbing, but once more be careful not to run too wide as there’s a track limits sensor.
Hopefully, you’ve got a good exit onto the straight, and now you should keep the car over to the right-hand side – on track days this allows faster cars to overtake on the left, in races it defends our position into turn one.
So that’s all for the Definitive Circuit Guide to Snetterton 300, thank you for reading. If you enjoyed it, please share with your social media.


